Our content features commercial links to our products, committed to transparent, unbiased, and informed editorial recommendations. Learn More
The Art of Tsuka Maki: Katana Handle Wrapping Beginner’s Guide
NO AI USED This Article has been written and edited by our team with no help of the AI
The Katana, a renowned Japanese sword, has been admired as a representation of samurai tradition for hundreds of years. The curving blade and long grip of the katana have piqued the interest of swordsmen all around the globe. But the katana’s handle is more than just a practical addition – it’s artistic creation in its own right.
The wrapping around the Katana handle is an integral part of the weapon. The handle wrapping not only improves the sword’s usability by making it easier to hold but also gives it a pleasing appearance.
In this article, we’ll show you the basics of wrapping the handle of a Katana, which is an easy and enjoyable activity. We’ll walk you through the process of wrapping your own Katana, including the length and type of material we recommend.
Japanese Handle Wrapping Technique
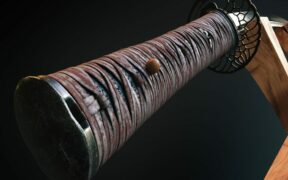
Japanese sword handle wrapping is called Tsuka-Maki, which translates to handle wrapping in Japanese. It derives from the word for the sword handle, Tsuka, combined with the word Maki, which translates to roll. The Katana handle is usually made out of wood. Then it has a wrap traditionally called Tsuka Ito, which is usually made out of cotton, silk, paracord, or faux leather.
The purposes behind the tsuka-maki are plenty and here we will mention just a few.
- Better Grip – the rough patches and material aid tremendously when wielding
- Protection – it protects the core of the wooden handle underneath
- Better Balance – adds weight to the handle, which aids with balance
- Absorbing Moisture – it can prevent slippage
- Increasing Overall Safety – very good to use when training with a Katana
- Personal Touch – enhancing the aesthetics by using various materials and custom sword handle styles
- Meditative Practice – when done by martial artists and swordsmiths as it takes great patience and expertise to execute it perfectly
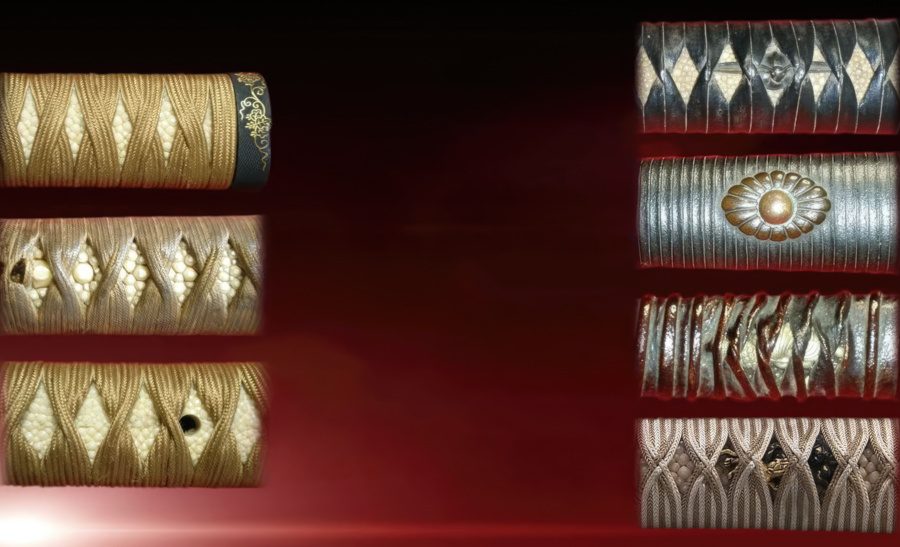
There are many different styles of Japanese handle wrapping, like Shino-maki, Kata-hineri-maki, Katate-maki, and Gangi-maki. Each is different but can be made on all Japanese swords like the Wakizashi, Tachi, a practice Iaito, a ninja cosplay Ninjato, a small Tanto sword, or a high-quality clay-tempered Katana used for Japanese martial arts.
A wrapped Katana handle will make the full tang high carbon steel blade of a Katana combat-ready, unlike the other type of handle called Shirasaya, which is made out of wood and can also be hand forged.
Katana Handle Beginner’s Wrapping Tutorial
Getting the proper length and width of your Tsuka wrap is key before you begin the handle-wrapping process. A good width for your Katana wrap should be 0.39 inches (1 cm) wide in relaxed form and 0.31 inches (8 mm wide) when fully tightened.
Measure the Katana length and handle, and convert the inches to feet. Once you’ve done so, add four more feet to the inch number you’ve gotten. For example, an 8 to 10-inch (20 to 25 cm) handle will need 12 to 14 feet (3.6 to 4.2 meters) of cord.
1. Place Katana in a Horizontal Position
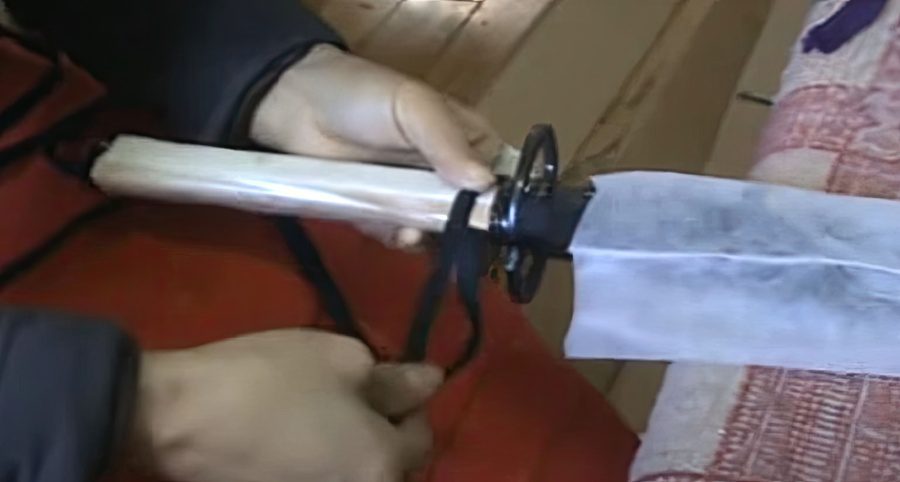
Start by putting the Katana sword’s handle horizontally on a flat surface. We recommend that you find a platform that can hold the end of the katana handle near the pommel, or called Kashira, and the blade or scabbard while keeping the handle in the air.
This makes it much easier to work with because you must turn the handle in the next steps. A flat horizontal position works fine because you can push the handle down on the wraps when creating the diamond shapes.
2. Find the Center of the Ito Wrap
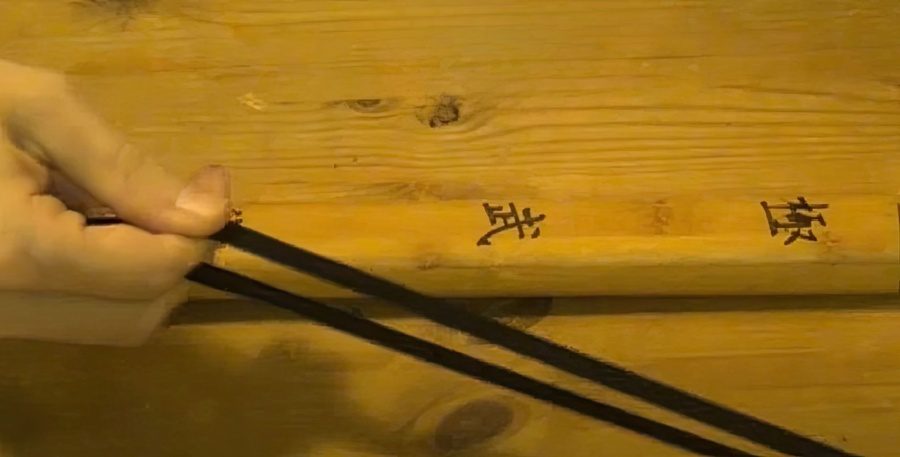
Take out the Ito you’ll use to wrap your Katana’s handle. Hold it in one hand with a finger in the middle, and pull the other two ends of the wrap a few times until you can see that they are all the same length.
It’s important to get this right and line up the center point of the Ito wrap because if they aren’t the same length, the wrapping process won’t be even on both sides of the handle and will drastically impact the handle’s functionality.
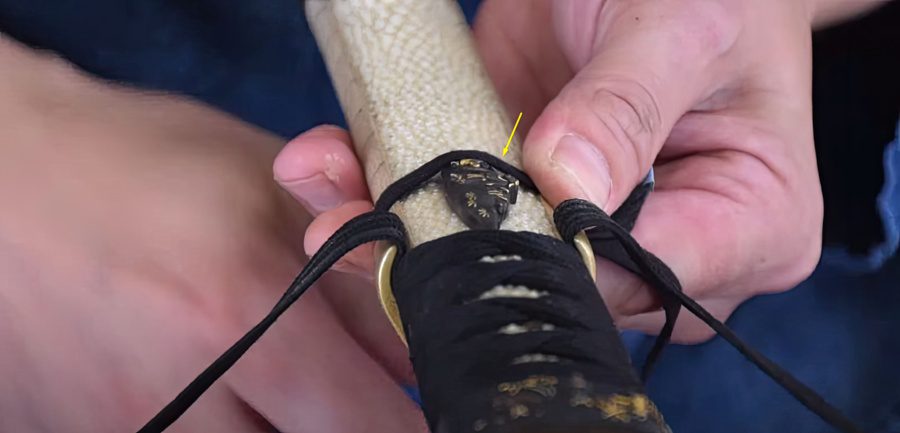
3. Place the Center of the Wrap on Top of the Handle
Once you have measured and found the exact center of the ito wrap, you will put this same center on top of the handle or under the guard, called Tsuba. You can also put a very small amount of glue under the wrap where it will touch the handle.
This is the only time you will use glue in this process. It won’t ruin the Katana handle and will keep the wrap in place while you continue. This is optional but helpful.
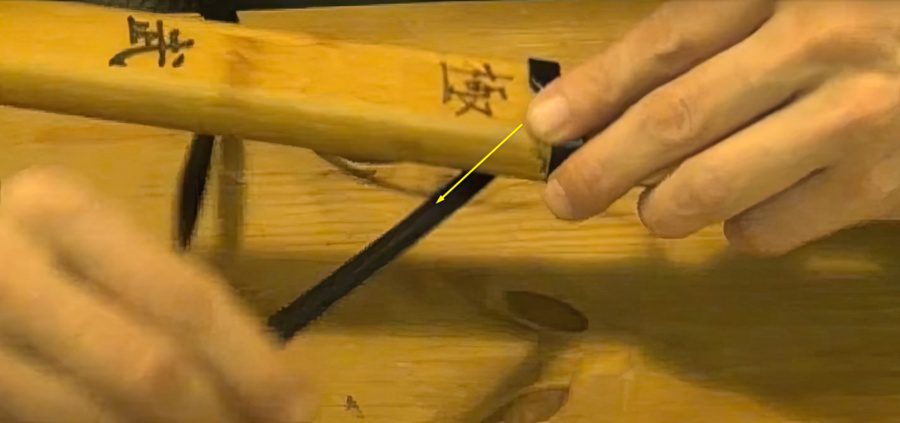
You must put the handle sword wrap in the position shown in the picture above and place it very firmly. You can pull on the ends of the wrap to keep it in the same spot and to give it strength while turning the handle around.
4. Turn Around the Firmly Placed Wrap

Once the wrap is in place, and you’re holding it firmly, you’ll pick up the handle or move it to the other side while still holding the wrap. Make sure to hold the wrap in place while turning it around. You can also measure both ends to ensure it’s in the center. This is why using glue can help.
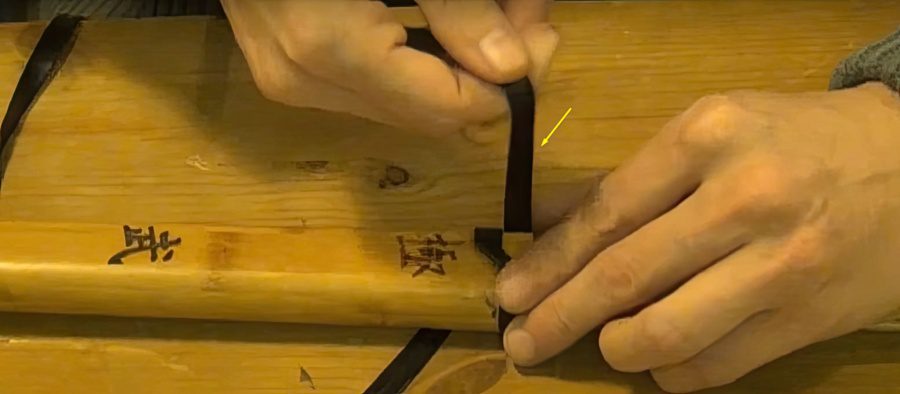
The wrap should now be under the handle, as shown in the picture above. Now you will start working with both ends of the cord and start the Katana handle wrapping process.
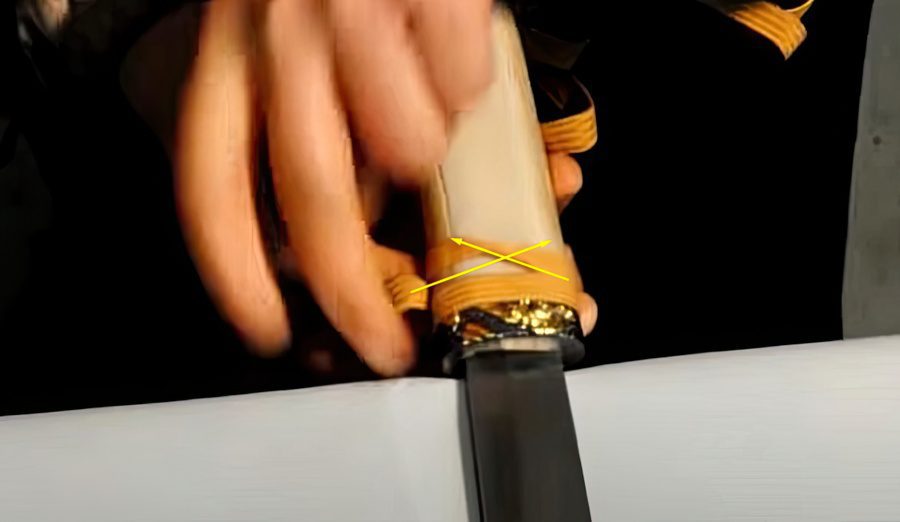
5. First Wrap
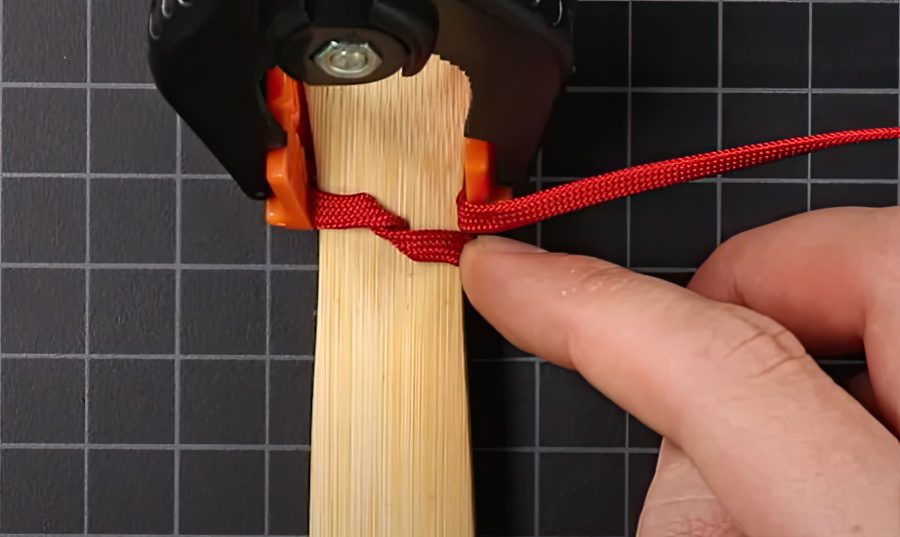
While holding the Ito firmly in place, you will make a wrap under it and in the middle of the handle at about 45 degrees. Once you’ve made the wrap, pull the wrapping cord on the other side and under the handle.
You will now take the other half of the cord you’ve wrapped in the middle of the handle and bring it over to the other side, as shown in the picture above. It can stay as it is for now because you will form a wrap with the other end of the Ito.
6. First Wrap With the Other Ito Cord
Take the other end of the cord and make the same wrap in the middle of the handle as you’ve done in the previous step. Make sure that you hold it as firmly as possible because if these first wraps aren’t tight, all remaining wraps will continue to loosen as you move along with the process.
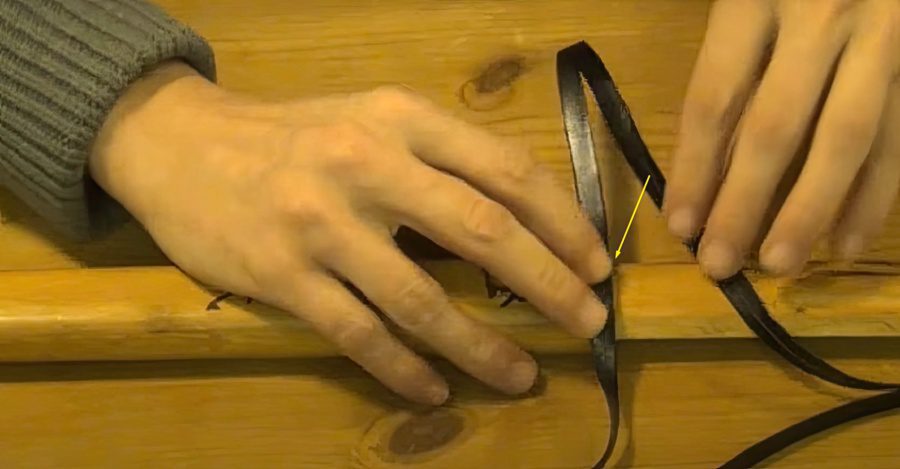
6.1 If using a Paracord
If you are using a paracord, silk, or cotton ito, this is how the wrap should look.
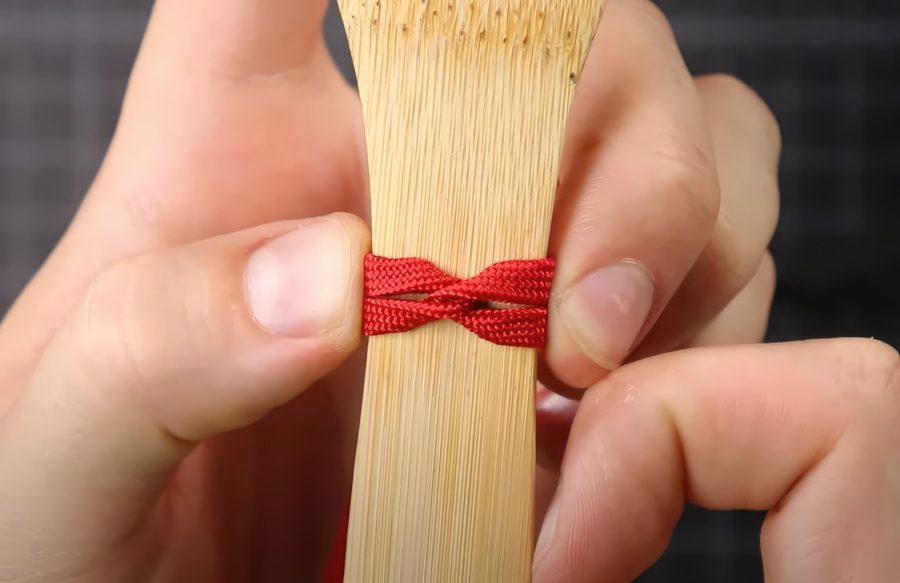
This is how the final result should look when creating both twists on each side with a paracord wrap. It will look like an X shape which you need to continue across the entire handle.
7. Turn the Handle and Repeat the Twists
Turn the Katana handle around and create the same twists as in steps 5 and 6, but on the other side. Once you have done this, you will again turn the Katana handle on the side you initially worked on. Now comes the first diamond shape.
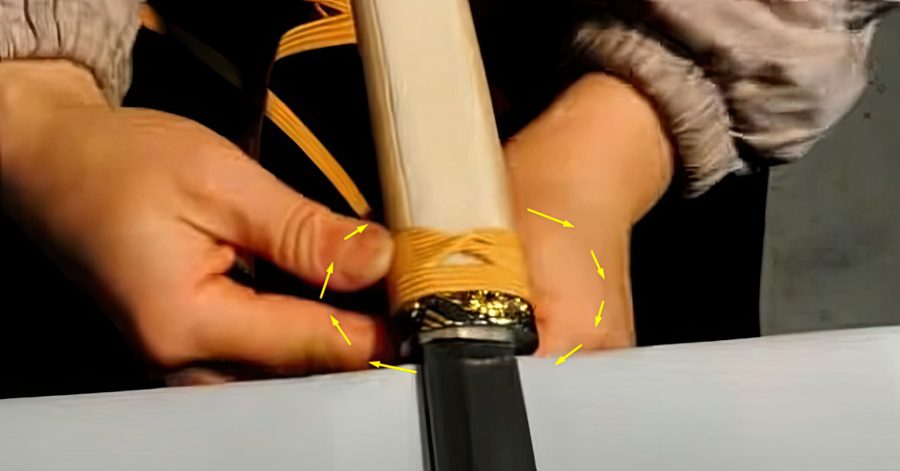
With your fingers, keep the pressure on the cords as you turn the handle. This is very important, and you must turn the handle around 15 times to reach the pommel.
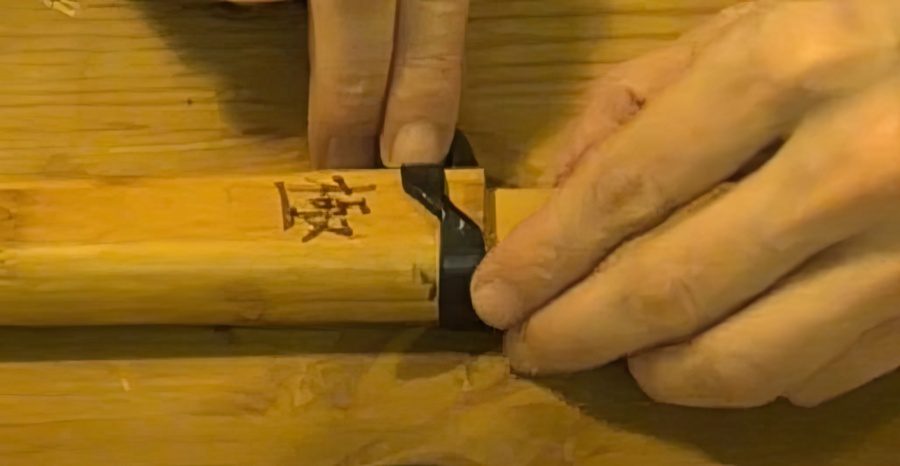
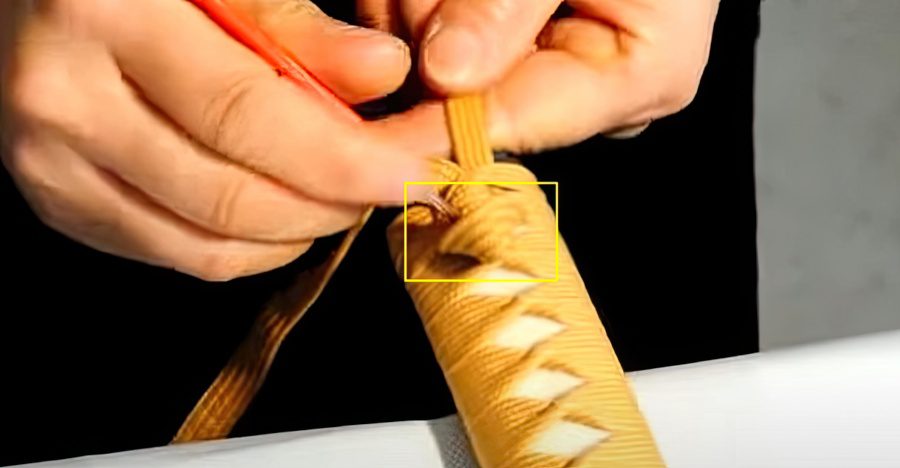
8. First Diamond Shape
Make the cord wrapping from each side of the handle, once from the right and the other from the left. Keep it at an angle, and you shall see an opening in its center.
Once you complete the same style of wrapping from both sides, you will see your first diamond opening created in the center of the Katana sword handle. Turning the handle around is key after each wrap.
If using a regular cord and not leather, you can create the X and diamond crosses on each turn, as explained in Step 7. Keep following the same pattern and diamond shape until you reach the pommel.
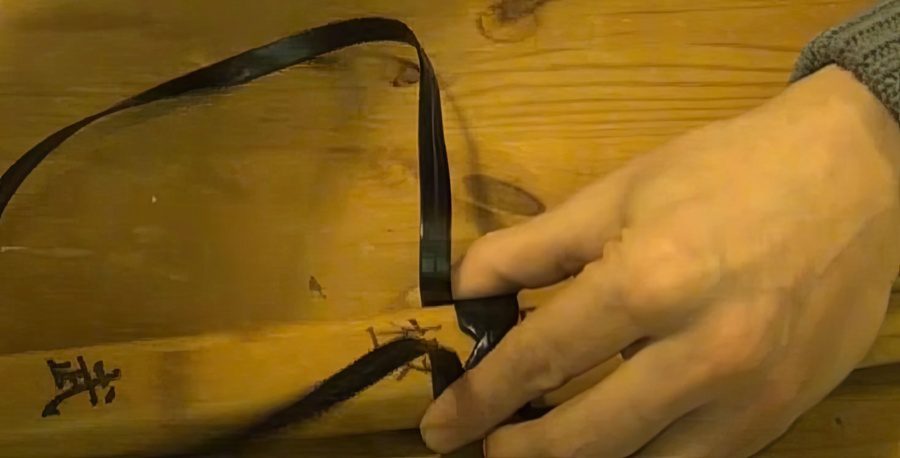
9. Pommel Cord
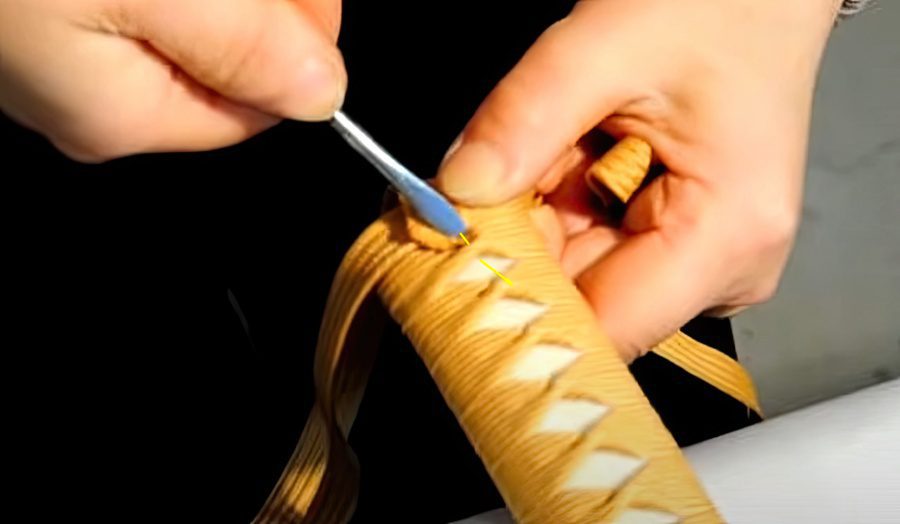
For these last steps, you will need a couple of tools, like scissors, a screwdriver, or Katana handle wrapping tools, like a hook.
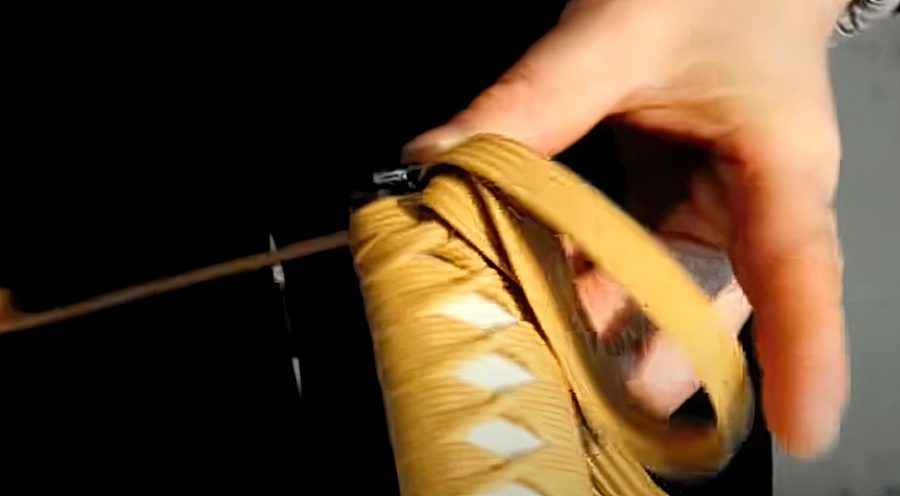
Once you’ve reached the pommel cap, place one end of the cord through the last diamond shape you made with the previous wrapping. Pull the cord until you’ve made a loop, and then place the ending of that cord through the same loop. Once you’ve done so, pull both sides of the loop and make a tight knot.
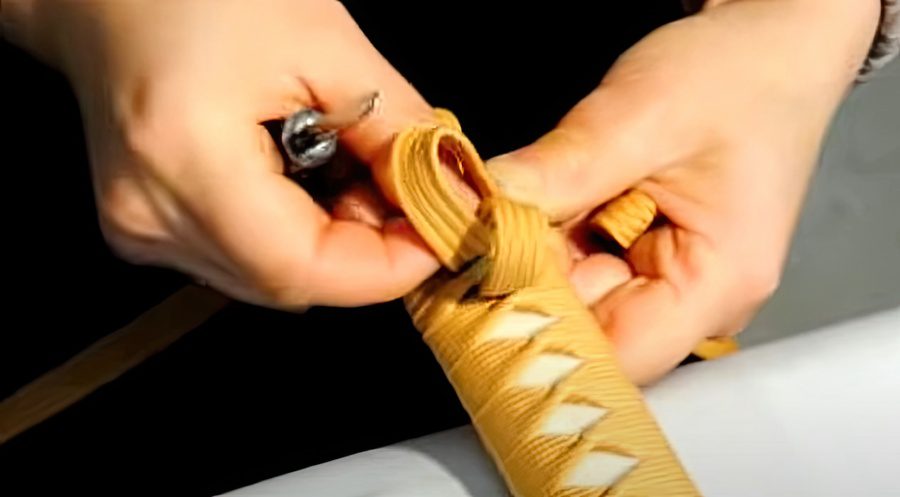
After the first knot, pull the other end of the cord wrap through the first diamond opening as previously just over the already-made knot.
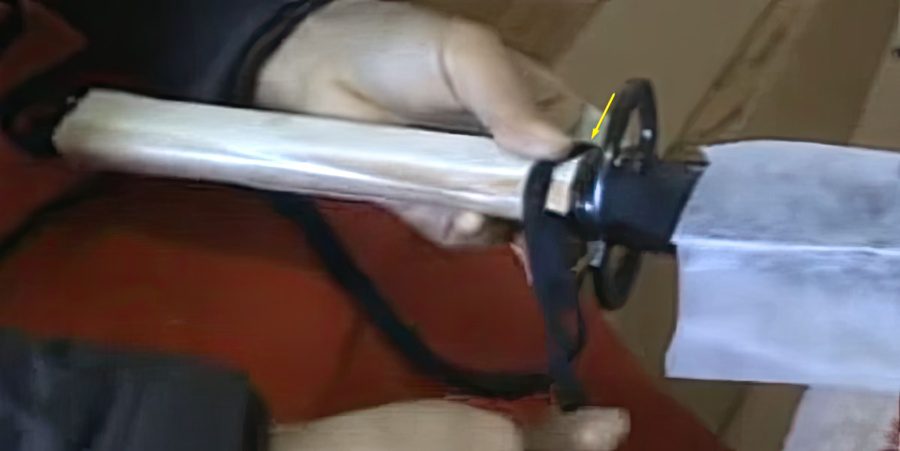
You will now pull back on the other side of that same cord you’ve pulled and put it on top of the cord using a small hook.
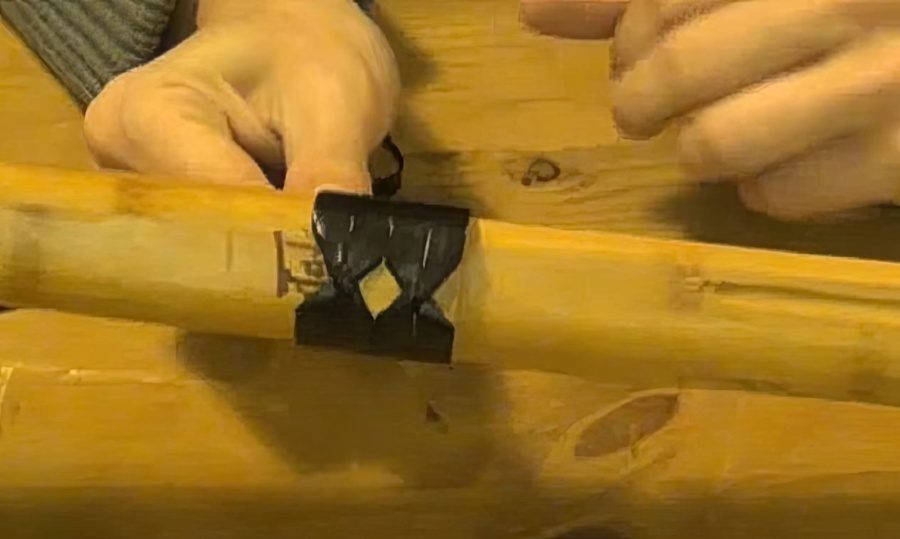
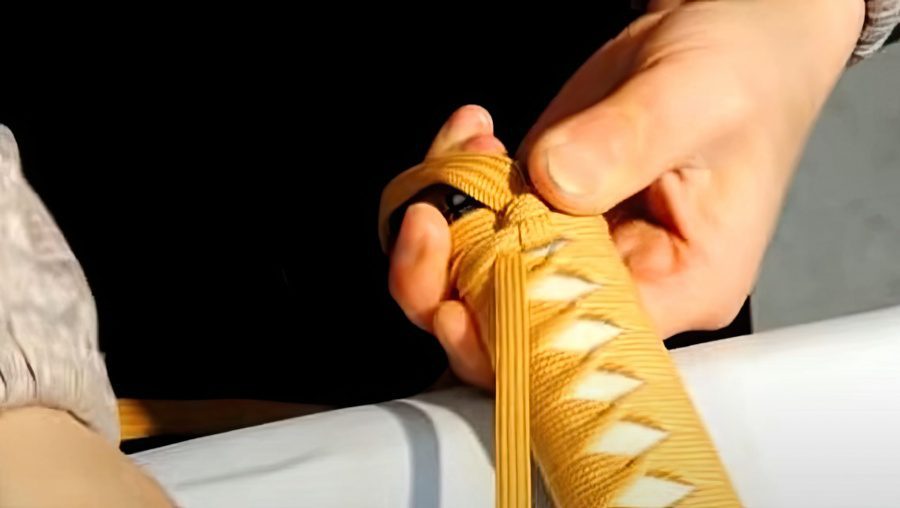
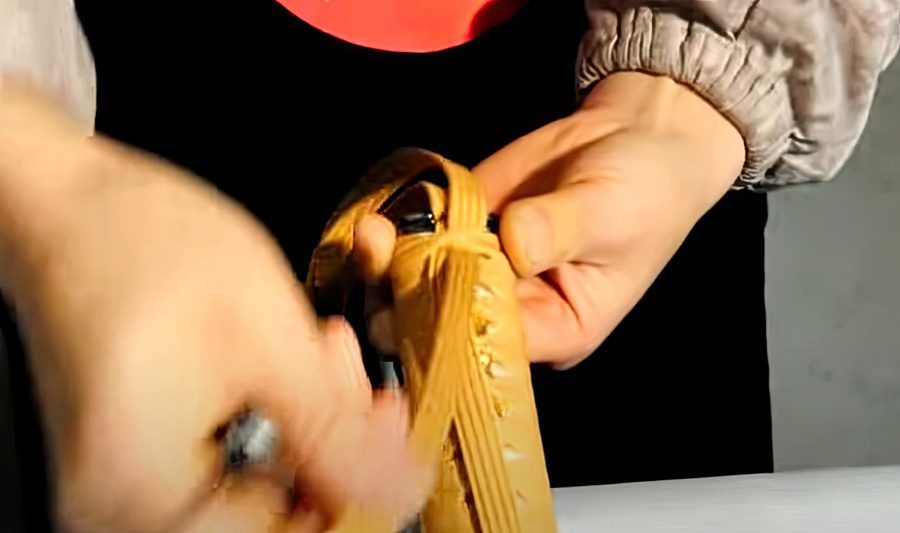
Make sure you turn the little loop that will appear inward and to the side of the pommel. Once it looks as in the picture above, lightly pull on the cord while maintaining the same shape using your small metal hook.
The final result of this pommel cord should look as shown in the picture above.
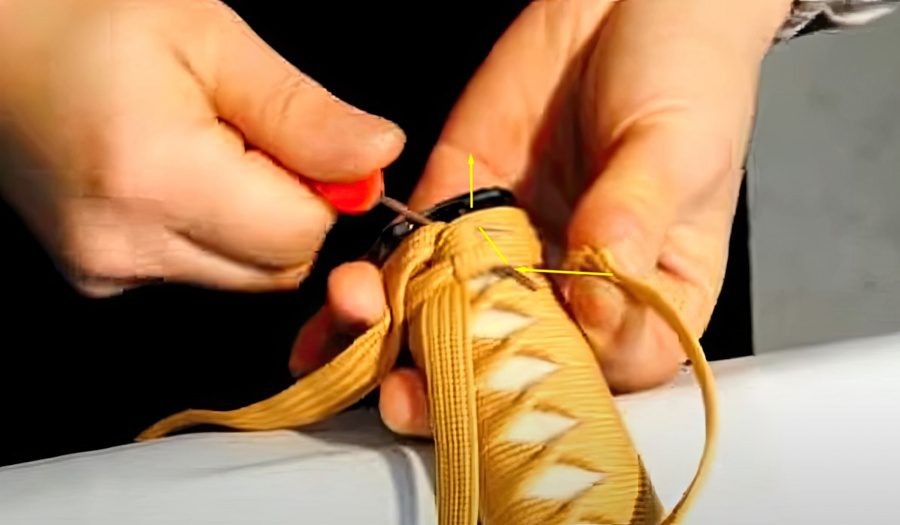
10. Finishing the Katana Handle Wrap
You will pull both cord endings through the opening in the pommel cap with your metal hook. On the other side, you will pull both endings through the first diamond opening.
Pull both of them as much as possible through the first diamond opening as in the other side of the handle.
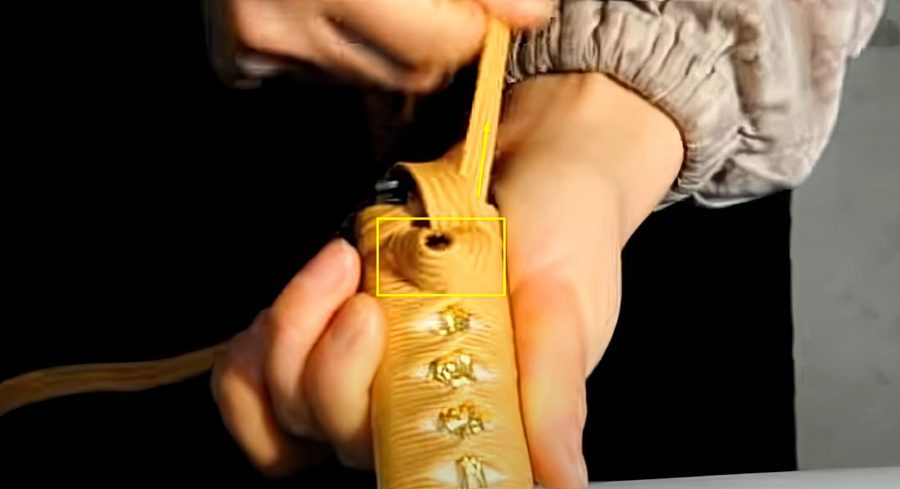
Take one end of the cord and pull it back from the other side of the diamond opening and turn the loop inward, as you did before. Tie it up as tight as possible while holding the knot shape with your small hook.
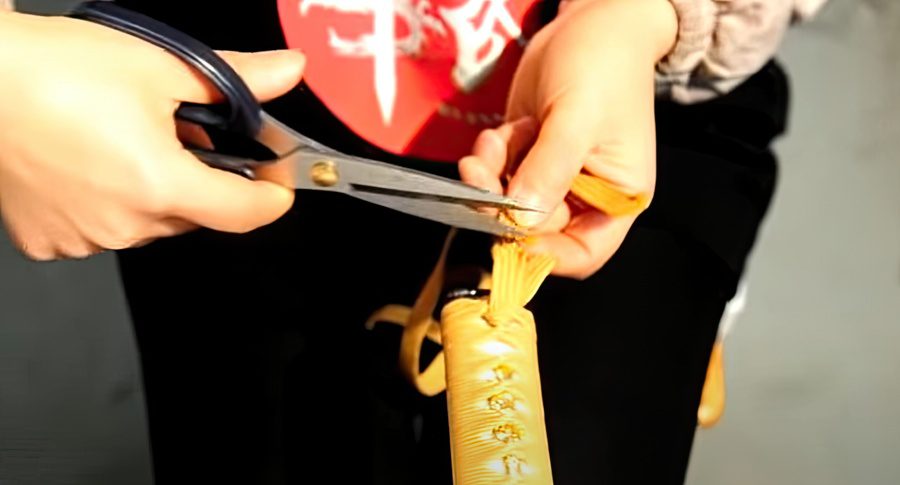
With your scissors, cut the remaining cords from the Katana handle wrapping material. Leave as much as is shown in the picture above. Now put one end of the cord inside the pommel opening.
Take the other cord ending and push it inside the last tied-up X shape knot. You may use your metal piece to tuck it in nicely so that it won’t be seen from the outside. And just like that, you’ve finished the Katana handle wrapping process!
Advanced Katana Handle Wrap
If you want to go the extra mile and make the Tsuka Maki better in terms of looks and feel, you can try these advanced techniques. You can use the already present steps from above and implement these two features shown below.
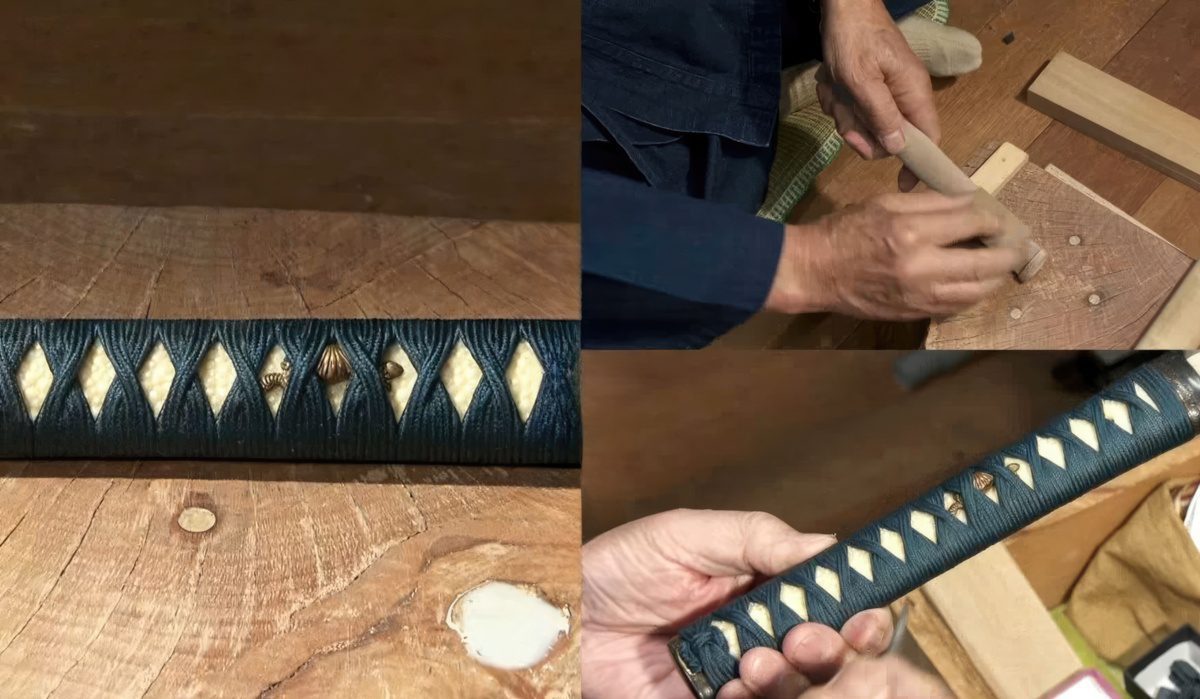
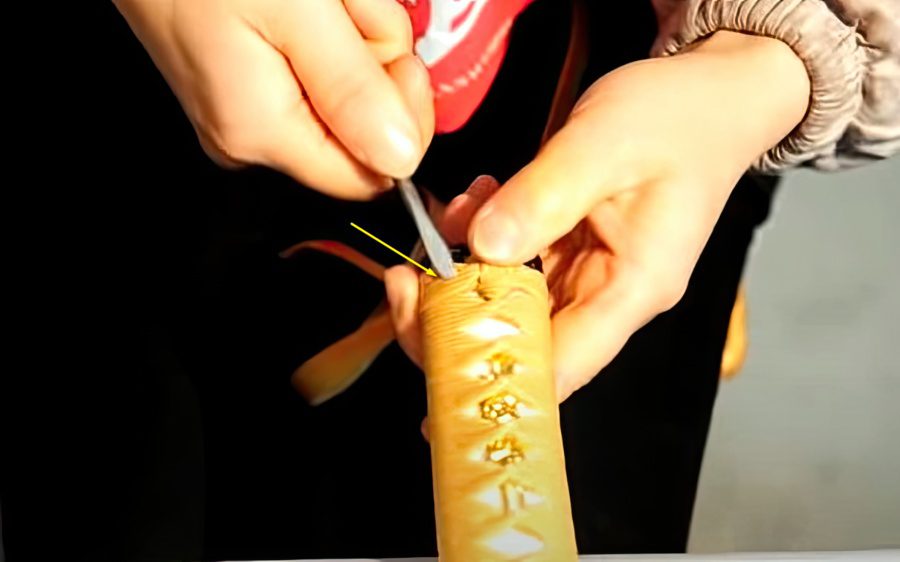
Hishigami Wrapping
Hishigami are tiny triangles or wedges that go under the tsuka-ito of your Japanese-style swords when you wrap the tsuka. They do many things, like help shape the diamonds, keep the ito from shifting along the core, and keep the ito from corroding against the rough Samegawa ray skin.
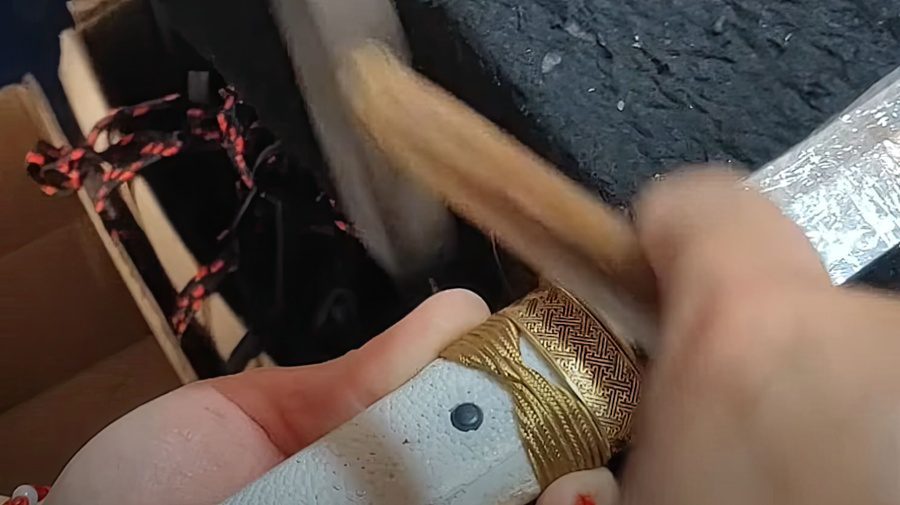
Two hishigami are placed on each side of the X diamond shapes and secured with the tap of a hammer after they’ve been put there. For a regular-size Katana, you will need about 65 hishigami papers.
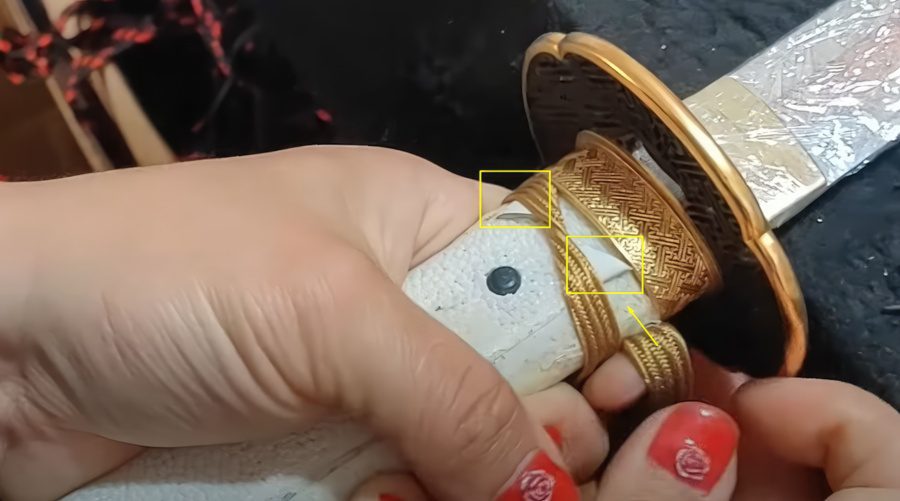
Menuki
Menuki are metal pieces added throughout the Katana handle. They can come in different shapes and sizes and are usually placed on top of the small holes called Mekugi.
Menuki make an uneven surface that assists with a better grip of the handle, despite the fact that they are very interesting and visually beautiful. Sometimes the same Menuki emblem is placed on the scabbard (Saya) and holding the wrap together (Sageo).